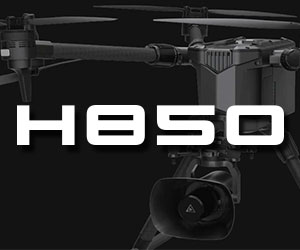
Hi all h520 users,
Know this was disscussed here and there and pieces of a workflow are scattered over different threads & posts.
Does anyone has a workflow on how to run a h520 compass calibration without camera? Having seen how hard calibration is for gimbal motors I am afraid of doing it again w camera on. E90 is vulnerable, my opinion, and I had to send it 2 or 3 times for IMU repair (don't know whether this has anything to do with calibration though) but am afraid of exposing the camera motors to extremes anyway.
On the other hand I recall someone saying that it is not recommended to take the camera off for calibration as it contains metal and magnets what can make compass to malfunction after putting it back on the drone?
Opinions and workflows pls.


