Hello Fellow Yuneec Pilot!
Join our free Yuneec community and remove this annoying banner!
Sign up

CGO3+ manually refocused, results:

Joined
Aug 6, 2016
Messages
362
Reaction score
206
Age
37
Location
Mexico
Hello everyone, so I had been reading about the CGO3+ factory focus problem, and honestly it did bother me everytime I reviewed my footage, specially at landing and takeoff because that's where it was most obvious the focus was set a few inches away from the camera and all the background was slightly out of focus.

Yesterday, I decided to give it a go and manually refocus the camera, which I bet has no warranty anyway since I decided to repair myself the H after a crash to get it to fly again since I have not, to this day, received response to the file/case regarding my last crash, which you can read all about in here: GPS Malfunction and Crash

The point is that I need the machine, and if I didn't repair it myself it would still be waiting gathering dust in a corner. (I've reviewed what happened and I (not an expert obviously) have concluded that it was 10% a gps glitch (perhaps interference from a very close cellphone tower) and 90% my error from my lack of experience that caused the crash). Ever since that the H has behaved perfectly as expected (except for the focus part).

Anyway before I keep tracking off further I'm here to tell you that I'm pretty happy about the results of the manual lens adjustment.

I did a couple of test flights after the latest firmware update, sending the H up higher than I had ever before hoping to get a great video only to come back home and realize the quality of the footage was not what I expected:

YUN00014_mp4_snapshot_01_01_2016_09_06_14_40_42.jpg


So yesterday I dissassembled the CGO3+, removed the epoxy from the lens, carefully adjusted it and tested (a very tedious process btw) anyway today I went to the beach to test the difference, and here's a video showing a very rough comparison between todays flight and the previous from last sunday. (obviously, please watch in 1080)


Screenshot:

cgo3plus_refocus_mp4_snapshot_00_09_2016_09_06.jpg

I believe it could still be slightly better adjusted, but so far, it looks a lot better.

Also excuse the rough turns mid flight, I'm still practicing my skills and not really recording any usable footage yet (this is my first UAV after all) also I didn't plan to make a comparison video at all, but after watching the results I thought it really deserved to be shared.

Both are at same settings EXCEPT for exposure control, which I forgot I had been changing last night when I reassembled the camera. Location is different so there's no exact comparison but I tried to show something similar. I believe the difference is very noticeable. (also please note I don't expect perfect movie-like footage from this camera just, at least, a correctly focused image)

None of the videos were color corrected in post, only cropped for the comparison

Note: I would NOT advise for anyone to do this unless you know what you're doing and you're willing to:
1) obviously voiding warranty, and
2) risking to break the camera all together; the solderings are veeeery fragile so make sure to have a soldering iron handy just in case (and a very steady hand), but even then, the ribbon cable has a couple of turns (weak points) and is in a very delicate position (and it cannot be disconnected) so it can very easily break if you're not careful.

Anyway, just wanted to share the results of this "mod". I'm not sure a camera replacement was a complete solution since a lot of people have mentioned before that Yuneec does not focus the cameras, because they don't manufacture them and they just replace them with, new still out of focus ones.


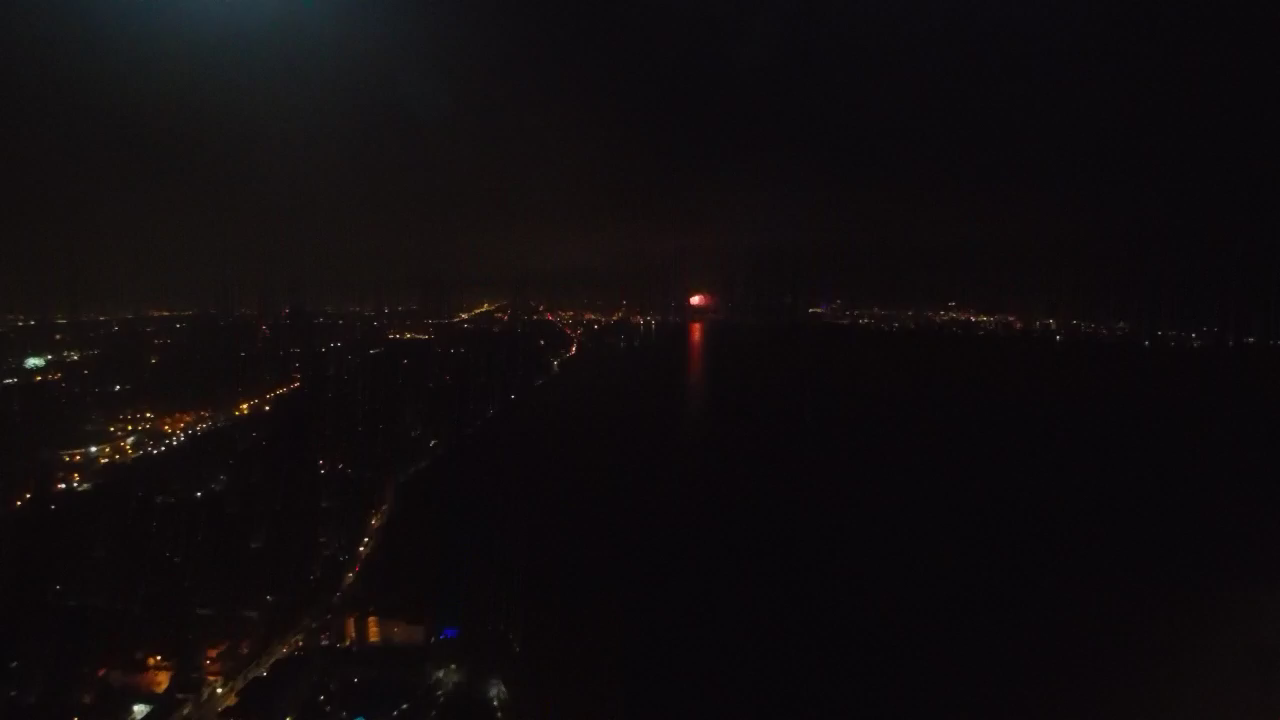
P.S. Since everyone is sharing their experience with the most recent firmware updates, here is an extra clip from today (I don't think it justifies starting another thread, if it does belong somewhere else please tell me!), just hovering waiting for the 1st low battery warning before landing.


I calibrated gimbal,compass and accelerometer on site before taking off; so far with new firmware: no toiletbowling, no drifting, no gps loss, one compass warning last night while indoors but none while flying, and just a couple of issues with video downlink (image pixelation) I noticed every now and then.

Thanks for your time!
 
Last edited:
  • Like
Reactions: banned user
I also manually re-focused my lens shortly after purchase and have been happy with the results.

I see that your shooting at 60 fps, have you tried the lower frame rates?

The 60 fps just looks soft and out of focus to me.
Dropping to 30 fps looks much better to my eyes, don't ask me why.
 
  • Like
Reactions: JulesTEO
I also manually re-focused my lens shortly after purchase and have been happy with the results.

I see that your shooting at 60 fps, have you tried the lower frame rates?

The 60 fps just looks soft and out of focus to me.
Dropping to 30 fps looks much better to my eyes, don't ask me why.

I agree, 60 fps always makes videos look too "flowy" somehow (is that a word? hehe). But for testing purposes I kind of like it, since its easier to see any jerkyness while flying (I also like how the blades' shadows look like on the ground at 60fps, but that's just me being weird)

I did try a lower frame rate, this one is at 25 fps 4K, however raw 25 fps always seems too choppy to me but, again, I'm just testing and practicing

I don't own a 4K monitor so I can't really tell if 4K looks completely good, so any insight about this video would be much appreciated :D


Greetings!
 
  • Like
Reactions: yuneec53
I also had a soft focus on the Typhoon H, not way out but enough to bother me every time I downloaded the images into Lightroom. I disassembled the camera 8 screws total (small phillips head). This is as far as you need to go if you are careful and work around the little flange. Others have been going deeper into the camera, but I had no trouble going to just this stage. I had multiple picks to utilize and that may have helped with my glue scratching. Then using Alcohol on a Q-tip I would paint the glue and let it soak. Then start scratching with the pick set. After about 30 mins of alcohol and picking I got the lens loose without any tools just hand twisting. When you first start you will feel like you are not making any progress, just keep scratching and reapplying alcohol and eventually the glue will give up. Next I hooked the ST16 transmitter up with an HDMI cable and ran it over to my 70" led screen TV. I wrapped the threads on the lens with two loops of plumbers Teflon tape. After wrapping take an exact o knife and cut the extra tape off so it does not get between the lens and sensor. I then blew air into the sensor area with a small camera puffer for sensors, making sure all the dust was off the sensor. Wipe the small part of the lens off with a micro cloth making sure it is clean on that end towards the sensor. This created just the right amount of resistance to focus. Activated the zoom feature on the pad in the setup section on the Android pad menu. Found a good area some distance away and slowly focused until I was happy. It takes some give and take because the HDMI feed is not instantaneous to the screen. Just go slow and it is apparent when it is focused, go past the point of focus and backup, you will eventually know where the focus point is located. It only takes a small amount of turning to make it go from focus to out of focus 1/8" movement or less. Once I felt I had it I put a little tab of silicone seal on one place, so I could easily remove it. I really do not know if that little dab of silicone seal was needed because the Teflon tape seems sufficient but it will make it 100% locked in place. The results are much better and things that are in the target range are sharp now and have well defined edges vs the smeary soft look of before.

 
I think that looks really good. I would be happy with that. I have not tested my enough yet but will be doing some real testing soon.
I agree, 60 fps always makes videos look too "flowy" somehow (is that a word? hehe). But for testing purposes I kind of like it, since its easier to see any jerkyness while flying (I also like how the blades' shadows look like on the ground at 60fps, but that's just me being weird)

I did try a lower frame rate, this one is at 25 fps 4K, however raw 25 fps always seems too choppy to me but, again, I'm just testing and practicing

I don't own a 4K monitor so I can't really tell if 4K looks completely good, so any insight about this video would be much appreciated :D


Greetings!
 
  • Like
Reactions: JulesTEO
I also had a soft focus on the Typhoon H, not way out but enough to bother me every time I downloaded the images into Lightroom. I disassembled the camera 8 screws total (small phillips head). This is as far as you need to go if you are careful and work around the little flange. Others have been going deeper into the camera, but I had no trouble going to just this stage. I had multiple picks to utilize and that may have helped with my glue scratching. Then using Alcohol on a Q-tip I would paint the glue and let it soak. Then start scratching with the pick set. After about 30 mins of alcohol and picking I got the lens loose without any tools just hand twisting. When you first start you will feel like you are not making any progress, just keep scratching and reapplying alcohol and eventually the glue will give up. Next I hooked the ST16 transmitter up with an HDMI cable and ran it over to my 70" led screen TV. I wrapped the threads on the lens with two loops of plumbers Teflon tape. After wrapping take an exact o knife and cut the extra tape off so it does not get between the lens and sensor. I then blew air into the sensor area with a small camera puffer for sensors, making sure all the dust was off the sensor. Wipe the small part of the lens off with a micro cloth making sure it is clean on that end towards the sensor. This created just the right amount of resistance to focus. Activated the zoom feature on the pad in the setup section on the Android pad menu. Found a good area some distance away and slowly focused until I was happy. It takes some give and take because the HDMI feed is not instantaneous to the screen. Just go slow and it is apparent when it is focused, go past the point of focus and backup, you will eventually know where the focus point is located. It only takes a small amount of turning to make it go from focus to out of focus 1/8" movement or less. Once I felt I had it I put a little tab of silicone seal on one place, so I could easily remove it. I really do not know if that little dab of silicone seal was needed because the Teflon tape seems sufficient but it will make it 100% locked in place. The results are much better and things that are in the target range are sharp now and have well defined edges vs the smeary soft look of before.


Cool! Definitely having those tools and keeping the black cover is a safer approach :D, but I had only a relatively large cutter blade and it was impossible to do without damaging that piece.

Also, I didn't actually remove the lens, I just removed enough glue until the lens gave but its still pretty tight, I just didn't want to expose the sensor at all since getting anything on it would add a lot of extra work just to clean it.
I picked up the small picks at Harbor Freight or Northern Hydraulic. They were definitely the tool of choice for slowly getting that glue loose. It reminded me of a hot glue gun type of glue. It is doable if you are patient but worth the trouble if you have a soft focus problem. Good Luck
 
Nice job, and your decision to work around the lens shield instead of removing it was a good one. As you noticed the camera ribbon has a very delicate flex joint and your assumption it could be damaged easily was correct. That's the difference between Mickeyboo's video on focus adjustment and Bo's. Bo's takes you to places you don't need to go and introduces a lot more risk. I found out about the fragile ribbon flex joint the hard way and ruined a camera that didn't need to be disassembled that far.

For those that choose to adjust focus, the manner referenced in this thread is the best way. Don't separate the camera from the lens shroud.
 
I also had a soft focus on the Typhoon H, not way out but enough to bother me every time I downloaded the images into Lightroom. I disassembled the camera 8 screws total (small phillips head). This is as far as you need to go if you are careful and work around the little flange. Others have been going deeper into the camera, but I had no trouble going to just this stage. I had multiple picks to utilize and that may have helped with my glue scratching. Then using Alcohol on a Q-tip I would paint the glue and let it soak. Then start scratching with the pick set. After about 30 mins of alcohol and picking I got the lens loose without any tools just hand twisting. When you first start you will feel like you are not making any progress, just keep scratching and reapplying alcohol and eventually the glue will give up. Next I hooked the ST16 transmitter up with an HDMI cable and ran it over to my 70" led screen TV. I wrapped the threads on the lens with two loops of plumbers Teflon tape. After wrapping take an exact o knife and cut the extra tape off so it does not get between the lens and sensor. I then blew air into the sensor area with a small camera puffer for sensors, making sure all the dust was off the sensor. Wipe the small part of the lens off with a micro cloth making sure it is clean on that end towards the sensor. This created just the right amount of resistance to focus. Activated the zoom feature on the pad in the setup section on the Android pad menu. Found a good area some distance away and slowly focused until I was happy. It takes some give and take because the HDMI feed is not instantaneous to the screen. Just go slow and it is apparent when it is focused, go past the point of focus and backup, you will eventually know where the focus point is located. It only takes a small amount of turning to make it go from focus to out of focus 1/8" movement or less. Once I felt I had it I put a little tab of silicone seal on one place, so I could easily remove it. I really do not know if that little dab of silicone seal was needed because the Teflon tape seems sufficient but it will make it 100% locked in place. The results are much better and things that are in the target range are sharp now and have well defined edges vs the smeary soft look of before.


Thank you very much. Teflon tape is a great idea. Followed your instructions to get the glue off. I actually had a dental scrapper from the Dollar store which worked very well. Patience is the key to let the alcohol soak in. Used the Teflon tape, and it is so tight I did not use another glue to hold. I did mark the lens and relative frame position with a gold paint marker to note if the lens ever drifts. The only modification to the process was to actually capture the video of the focus changes. I got the focus to the best apparent location using the ST16 screen, the started the video capture in my normal shooting resolution : 4k, raw. I turned on the audio and changed the focus during the filming in three 1/8" steps clockwise then counter-clockwise while calling out the changes. I processed the video as normal with Da Vinci Resolve and played back, selecting the best focus.

I just want to call out how fantastic every one is on this forum!

Journey far and fare well!
Thanks and glad you had success. It made quite a difference on my images and video and was definitely worth the effort.
 
  • Like
Reactions: keiths
I am very happy with my camera after refocusing the lens.
Looks great and sharp! What really jumped out at me was the perfect Light balance between the sky and ground. Not to bright or not to dark and well done. Those clouds, they are a poppin! "Clear Skys" PPS
 
I am very happy with my camera after refocusing the lens.

I would be too.....Very nice video and demo of the H's camera-- VERY impressive. What method did you use to refocus the lens? I'll conclude you had the threaded lens mount? Some have gotten a smooth mount with a threaded lens.
 
Looks great and sharp! What really jumped out at me was the perfect Light balance between the sky and ground. Not to bright or not to dark and well done. Those clouds, they are a poppin! "Clear Skys" PPS
Thank you
 
I would be too.....Very nice video and demo of the H's camera-- VERY impressive. What method did you use to refocus the lens? I'll conclude you had the threaded lens mount? Some have gotten a smooth mount with a threaded lens.
Thank you
I carefully took the camera apart and removed the epoxy around the lens with a model knife. I didn't remove the lens as there seemed to be enough friction between the threaded lens and threaded mount. I connected a hdmi lead from the transmitter to a wide screen tv to give me a bigger image to focus on. I pointed the camera at distant roof top from a bedroom window and focused the lens until it looked as sharp as possible. Then took some photos and compared them zoomed in in photoshop until I was happy. As "Alsey7" mentioned the edge on the right side of the image is softer than the rest of the image and I don't know if this can be fixed. But the difference before and after refocusing is night and day.
 
Last edited:
I tried the same…using an HDMI cable to a HD monitor…. I have found that the signal seems to go sharp to lower resolution as the signal seems to modulate. Analogous to a streamed signal adjusting resolution according to bandwidth.

While I attempted to focus when the resolution got better… It would go in and out.

I'll try again this weekend to focus. I think the HD filters are adding some blur as well to the overall picture.

As for linearity… That probably is a lens issue for you.
 
Thank you for posting this video. Love the music what was that. Fly safeL
 
  • Like
Reactions: Kev Waite

Members online

Forum statistics

Threads
20,952
Messages
241,579
Members
27,284
Latest member
csandoval